
Webhooks explained
Now that you've become acquainted with how to use Onfleet's API, it's time to fry bigger fish! In this post, we will show you how to trigger a communication for your team when a task is marked as "Failed" by using an Onfleet webhook and creating your own Zapier integration. In this example, we will be connecting Onfleet to Gmail.
First, a quick summary. Webhooks can be extremely useful for you and your team to be notified as soon as special trigger conditions are met, via an HTTP POST from 14 distinct Onfleet triggers. You can also refer to our Webhooks quick start support guide, found here.
9 Simple Steps
Zapier allows you a space to receive your webhooks without having to set up a backend solution for managing your webhooks. Here are 9 steps for creating your first Onfleet webhook via Zapier!
1) Log onto your Zapier account, and select Make a Zap .
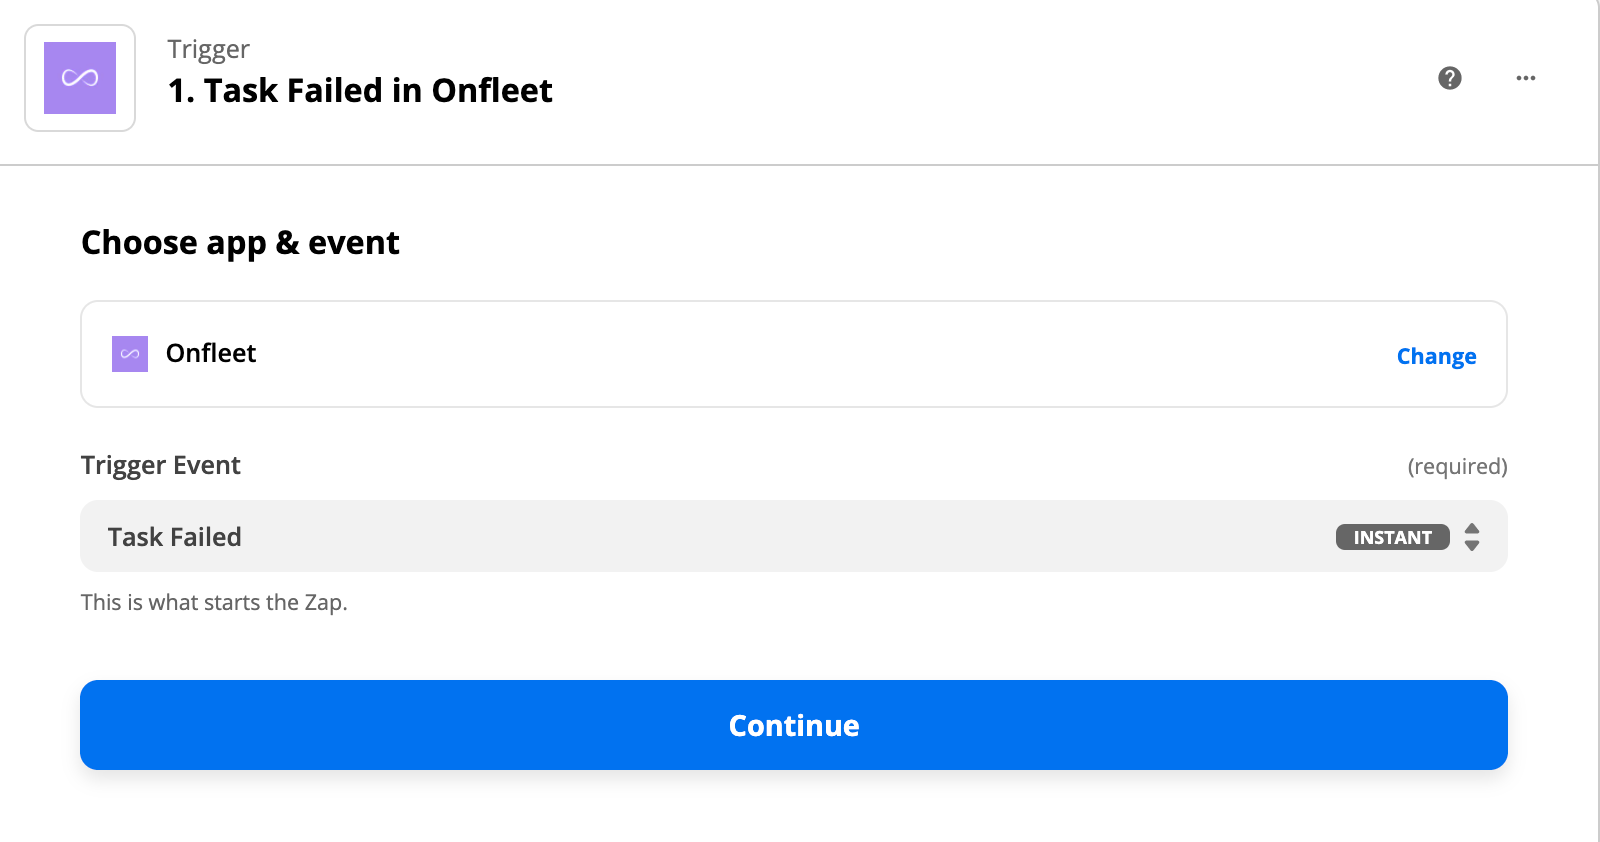
2) Under Choose Event search and select Onfleet , then click Trigger Event and select Task Failed (or your preferred even trigger):
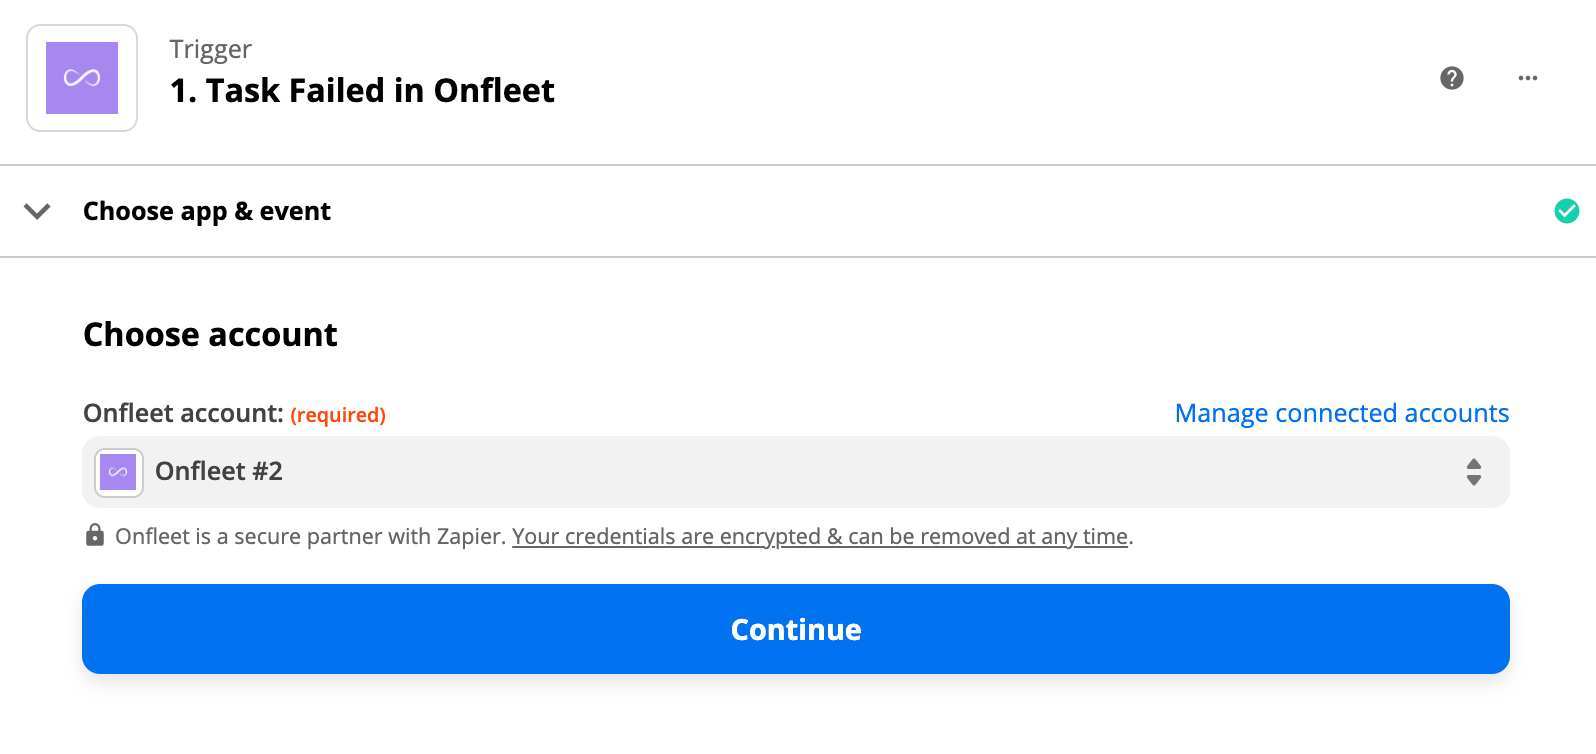
3) Now you will view an option to connect with your Onfleet account, this must be your Onfleet administrator account, then select "Continue":
4) Now you will be asked to test the trigger, we recommend you complete the action within the Onfleet dashboard to ensure the trigger is properly tested - in this case we failed a test task. If done correctly, Zapier will then return Task A and you can then select "Continue":

Good job so far! For the second part, you will enter what you want Zapier to do once the webhook is triggered. In this case, we want to be able to update our team when a task is failed by a driver via Gmail, so we will be selecting "Gmail" under Choose App. This section can also be customized with different apps such as Slack, Zendesk, or PagerDuty.
5) Select Choose App then search for Gmail, in this instance, we would like a new email to be sent to our team, so we will select Send Email under the "Action Event" category and select "Continue":

6) Next, you will be asked to sign into the email account you would like this notification to be sent from. We recommend using your organization's email so when the Zap is triggered the message will not be blocked or filtered.
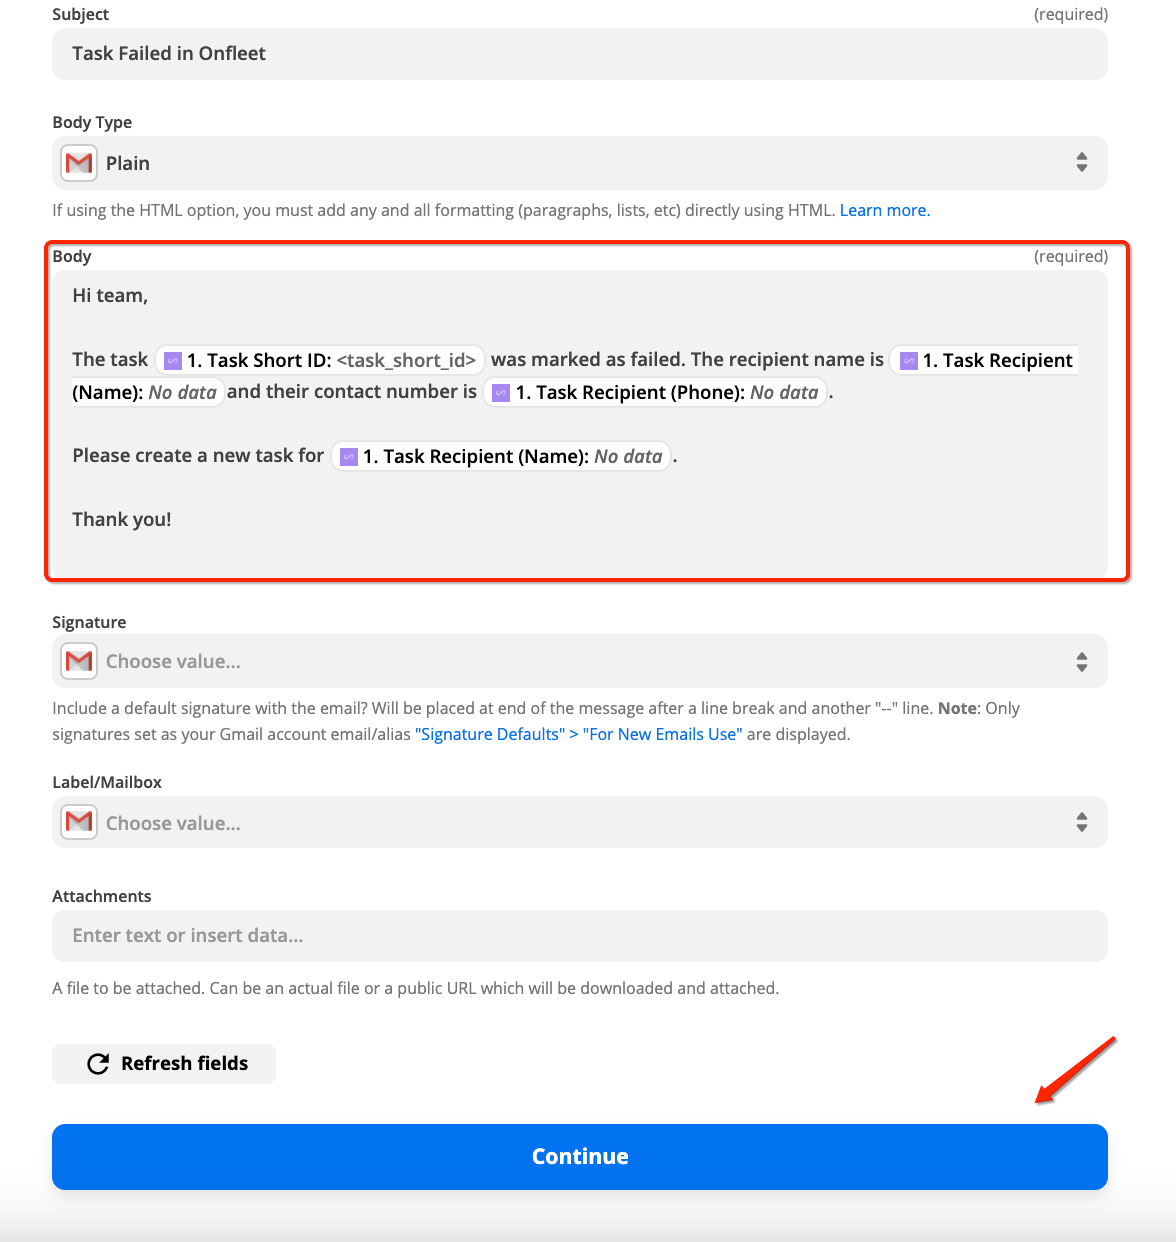
7) Now we can get to the good stuff! Once you have signed into the email you can set-up the action and craft the message you would like your team to receive when a driver has marked a task as failed. The body of the email is completely customizable to suit your organization's needs and communication style.
You can modify who will be receiving the email, such as a general team inbox or a specific team member. Remember - the email will be coming from the account you signed into on step 6. You will be required to set a "Subject Line" as well, and then craft the message you would like to automatically be sent out once the Webhook is triggered.
The Body section allows you to select place holders that will autofill with the tasks' information, such as worker ID, task short ID, recipient name, etc. This can be useful so every time the email is triggered it is updated with the pertinent information that your team members may require for each unique task.
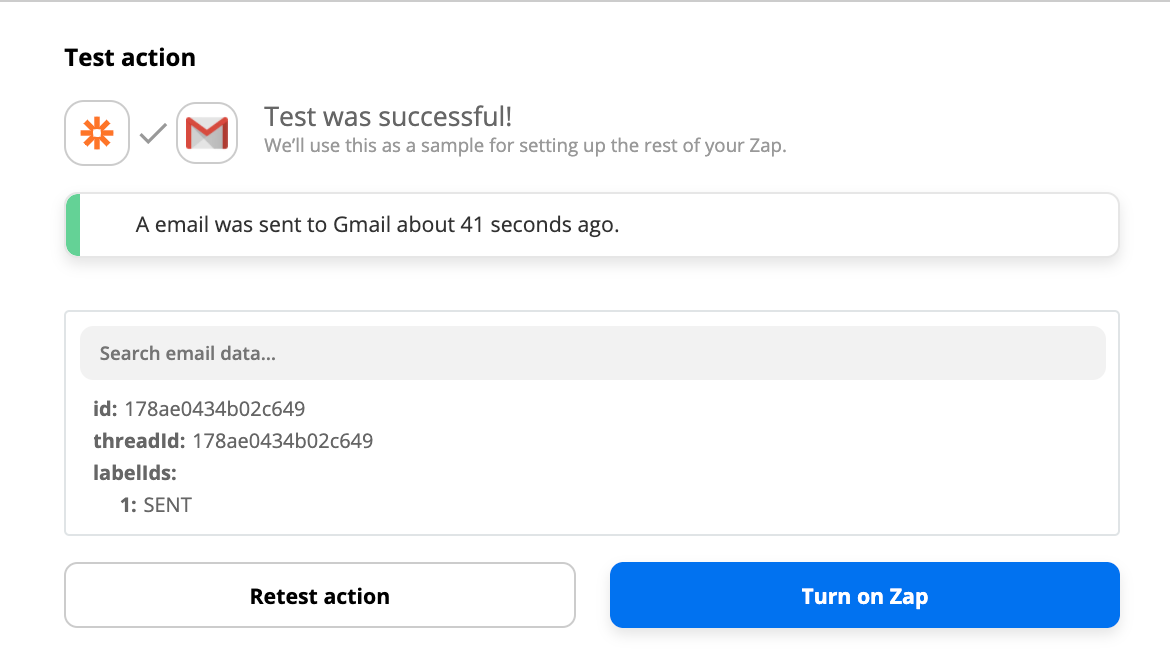
8) Once you are satisfied with the message, you can select "Continue" and "Test & Continue" to ensure you Zap has been set up successfully, and then click on Turn on Zap:
9) Congratulations! The world is a slightly more organized and efficient place, now that you now created your first Onfleet webhook using Zapier!

14 Triggers and Support to learn more
The Zapier and Onfleet webhooks integration has 14 different triggers from Onfleet such as Task Started, Worker ETA, and Task Completed and the ability to connect with over 2000 other apps such as Slack, PagerDuty, Zendesk, etc. There are countless possibilities for your team to keep track of tasks and drivers within Onfleet outside of the dashboard!
Visit Onfleet Support to learn more.