

The backbone of a successful last-mile delivery operation is software that is easy to use and well-maintained to track orders, provide optimized routes, and delight end customers. Onfleet is the world's leading provider of delivery management software, designed to scale up with companies completing thousands of deliveries per month. Onfleet has powered over 300 million deliveries for thousands of customers around the world since launching in 2015.
Whether you're considering or have chosen our platform for your operation, we've put this guide together to can have you up and running with a basic Onfleet dashboard within 5 minutes.
1. Sign up for an Onfleet account
Start by signing up for a Launch or Scale trial through our pricing page. Once you're signed up, you can sign in and view your Onfleet dashboard via https://onfleet.com/dashboard.
2. Add teams and drivers
Teams: this is how we organize our delivery areas
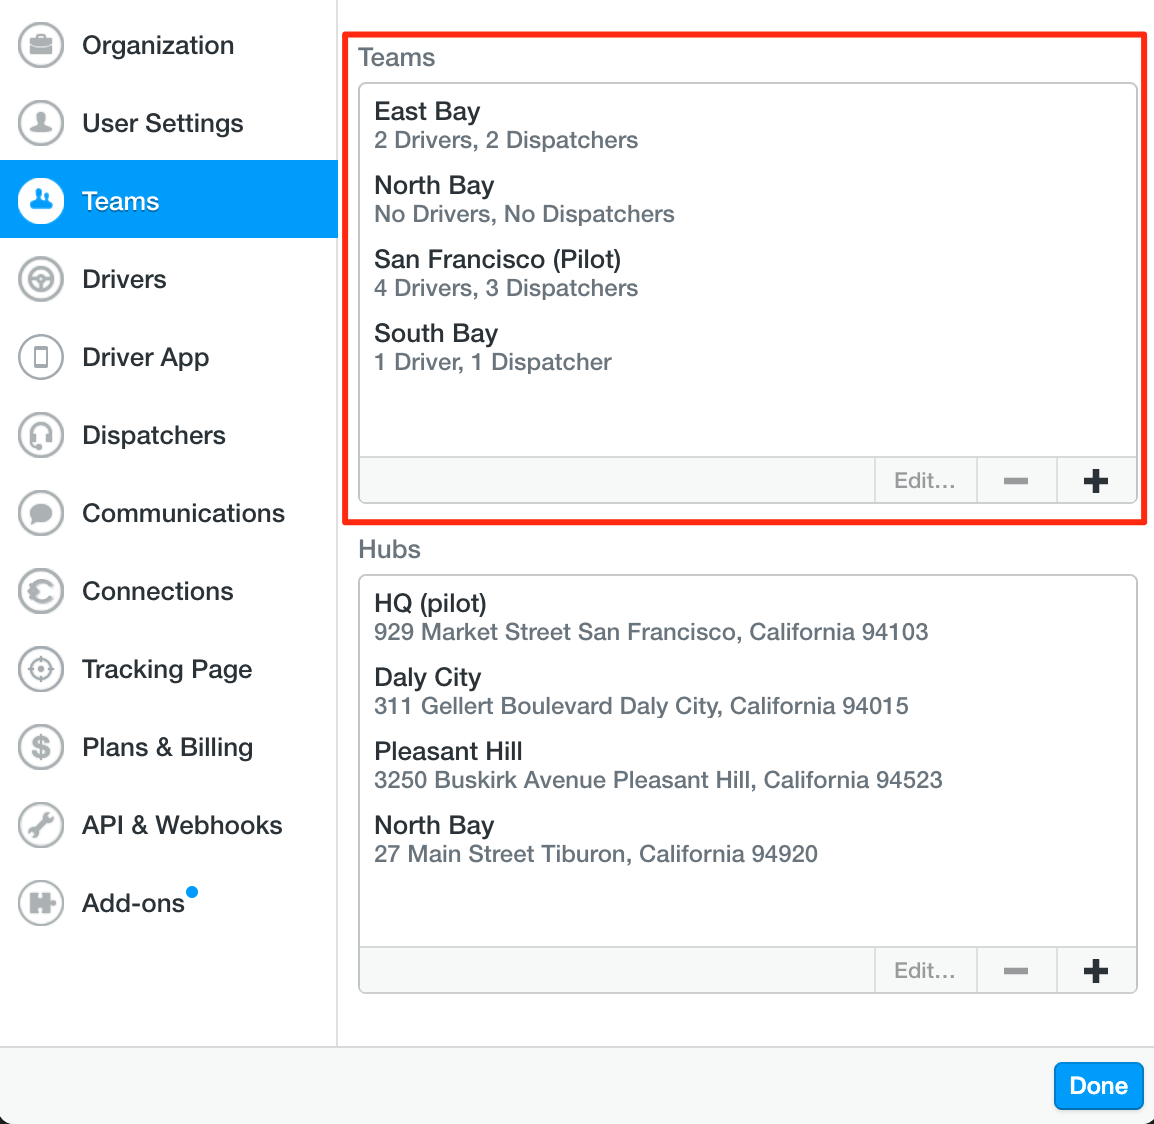
Next, go to Settings (the cog icon in the bottom-left corner) and select Teams. This is where you will organize your drivers and physical locations for delivery orders to be picked up (aka hubs).
For your business, your teams could be split by neighborhoods, routes, or different cities of operation. You can read this article for more information on creating a team.
Drivers: well, you're going to need some drivers
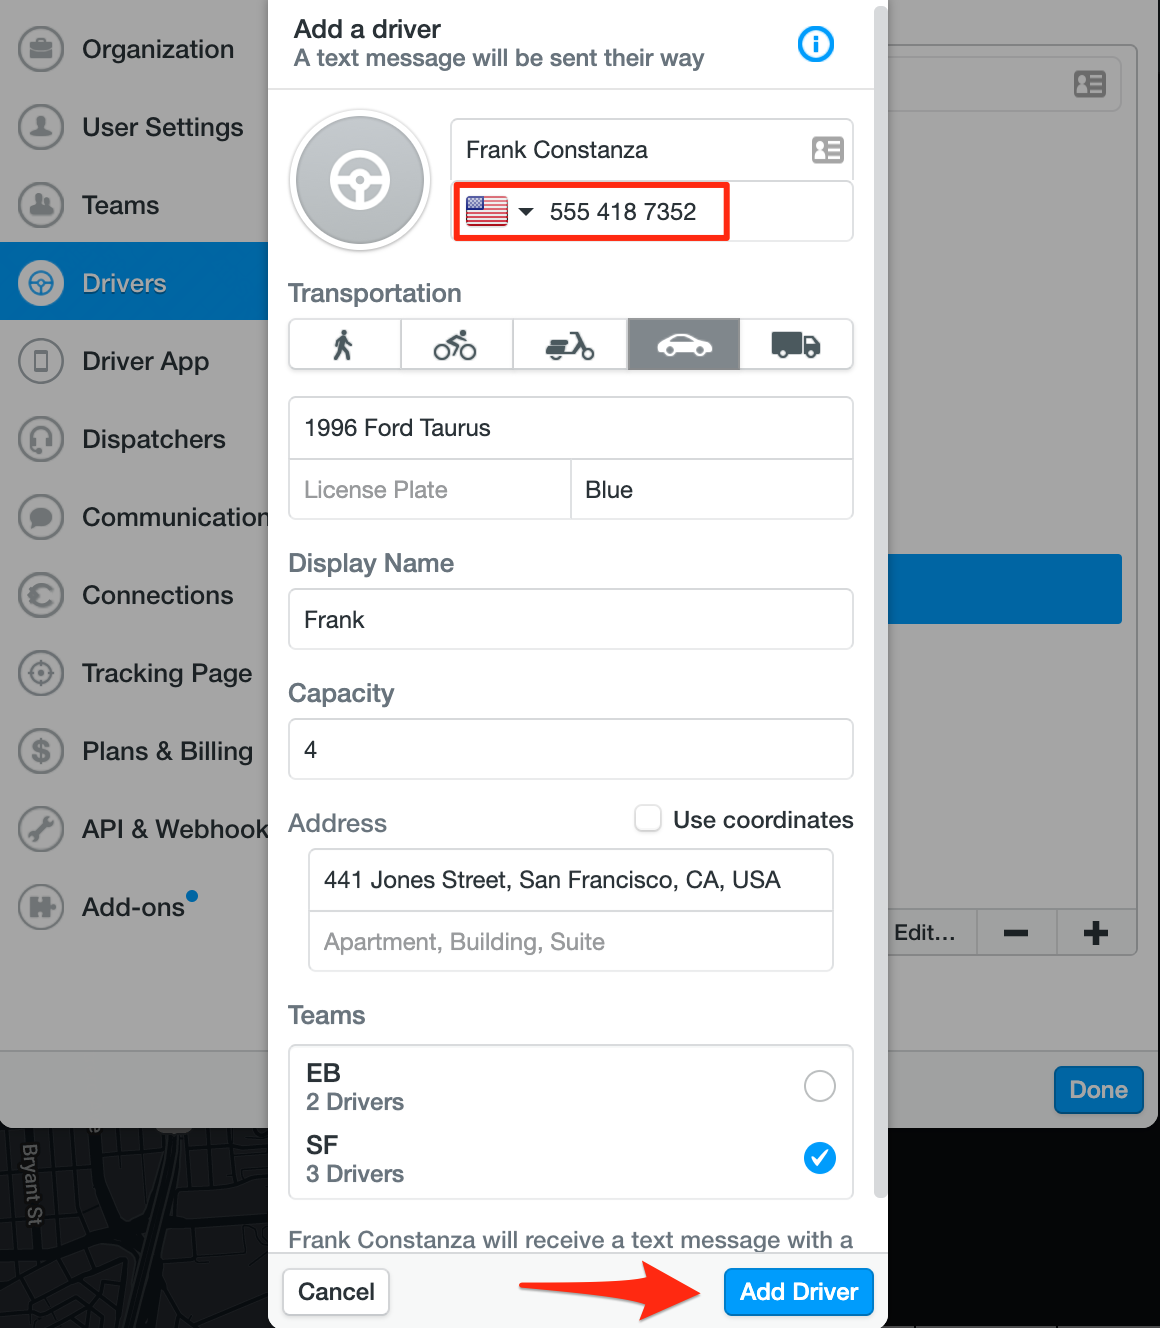
While you're in Settings, click on the Drivers tab to add individuals to your delivery team. This information includes name, phone number, vehicle information, and a team assignment. Each driver that you add will receive an SMS message alerting them that they have been added, with a link to download our iOS or Andriod driver app.
You can check out this article for more information on adding drivers.
Now that you have drivers, let's get those deliveries into the system.
3. Importing tasks
In normal circumstances, we always recommend some sort of programmatic task creation. In a high-volume business, this always creates a much more robust connection within any business, since manually inputting delivery information gets old very quickly.
However, in this 5-minute setup, we're going to recommend using our basic but powerful, CSV/Excel import tool. With this approach, simply use this template (download it as a .csv file) to input the delivery information (customer name, phone, address, notes, delivery window, driver, etc.)
Once your import sheet is saved, you can select the Import button (see above) in the top right and map the fields to the headers in your import sheet. From there, you can import all of the tasks for that day!
Head over to this article for more information on importing tasks.
4. Assign tasks to drivers
How do your drivers know where to deliver your orders? You must assign tasks to them!
Within your import sheet, you can designate a driver to receive those tasks upon import. However, you can also simply drag and drop the tasks to a driver like this:
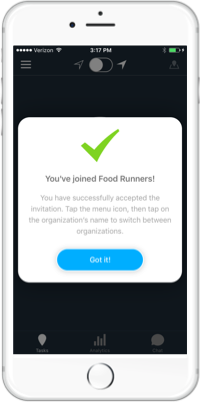
Our Driver app is incredibly intuitive and has been used by hundreds of thousands of drivers worldwide. This is the view your drivers will see once they login into the driver app to perform the deliveries you just assigned to them:
Read this article for more information on task assignments within Onfleet, or this helpful article explaining our mobile app from a driver's perspective.
And that's it! If it seems easier to set up than you thought, then you wouldn't be the first. Onfleet makes delivery management easy to get started. There are far more powerful features like route optimization, customer communications, analytics, and more that you can start digging into when you're ready to do so.
Are you interested in learning more about how to set up Onfleet for even easier use? Head over to our Quick Start Guides or sign up for a webinar session with a member of our Onboarding team!