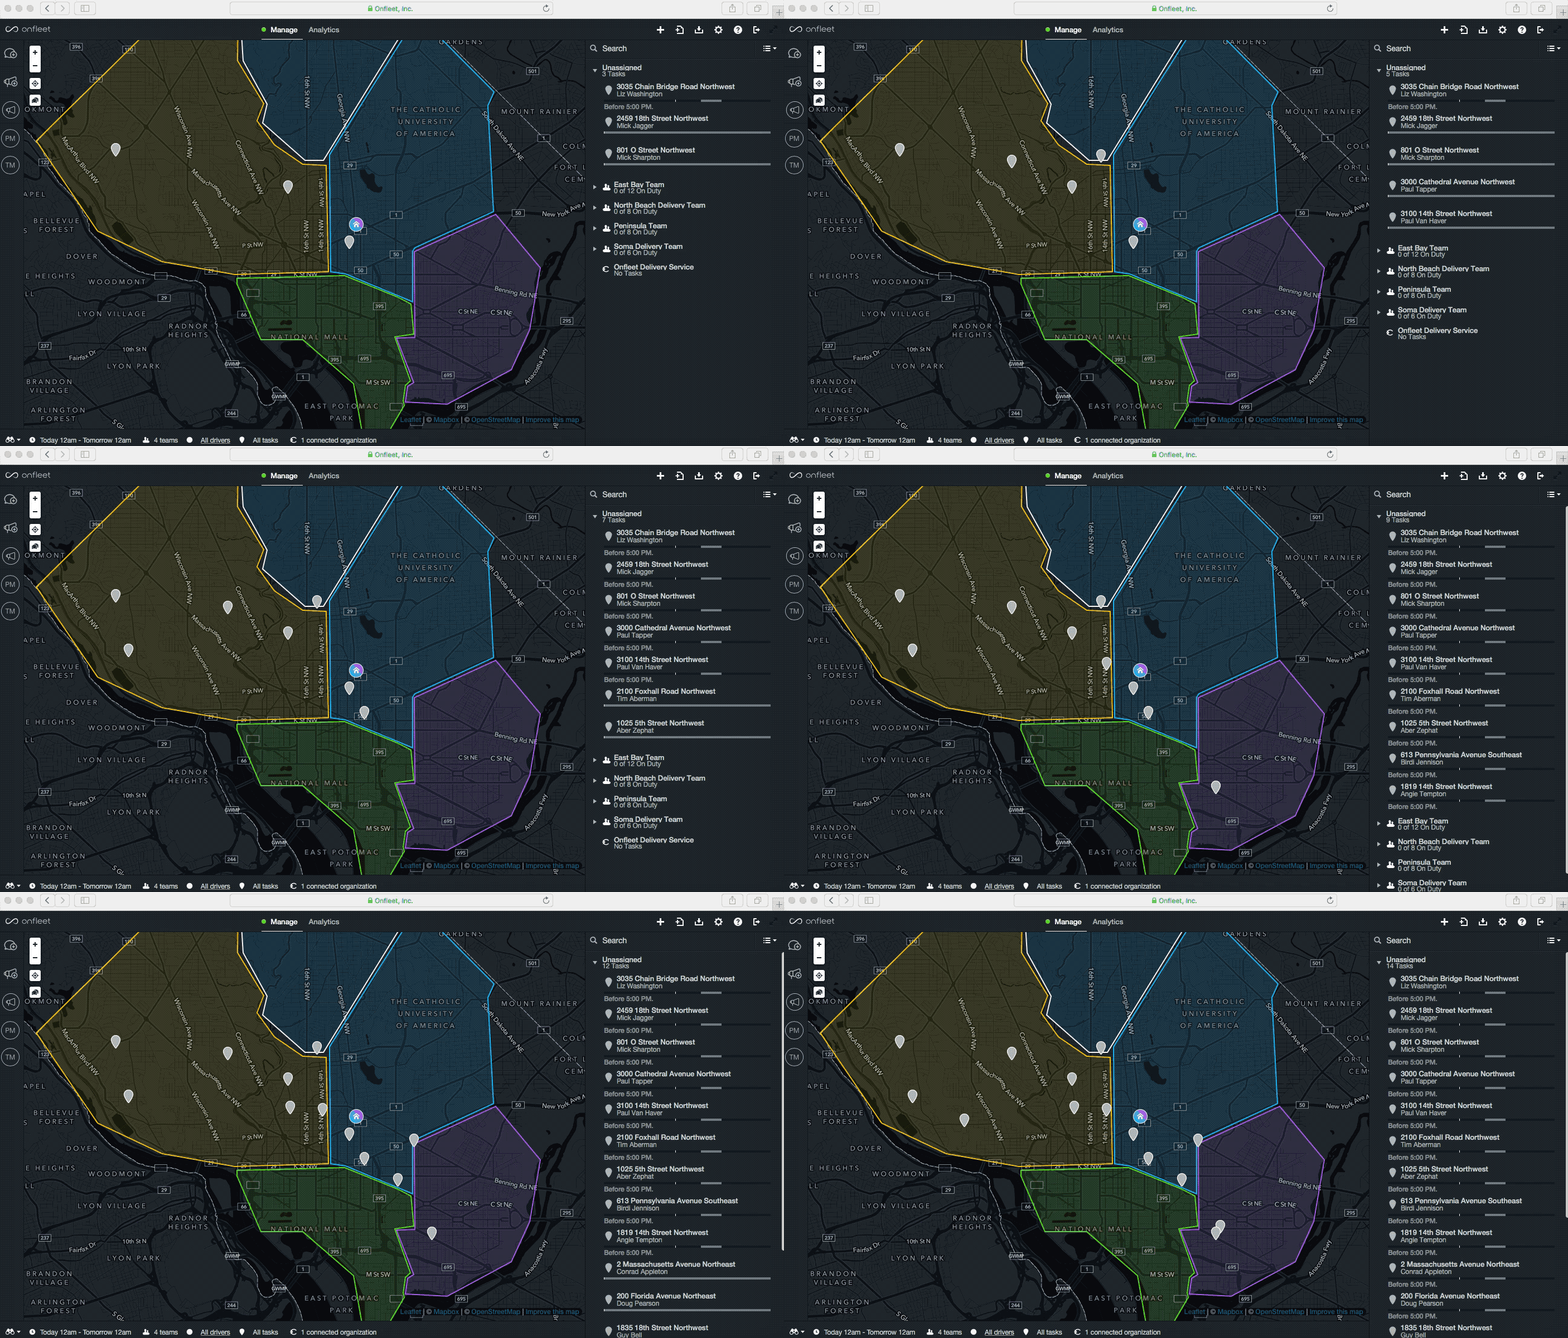
All day we hear integrate this with your CRM, integrate that with your point-of-sale system, integrate us with your life. For non-technical folks (raises hand), sometimes it can be difficult to conceptualize what a software integration actually is and how integrations can make your life easier.

If we take a simple example, let’s think of Onfleet as a basket. Yeah, we’re doing this; a literal basket. This basket let’s you organize your delivery operation and make sense of the controlled chaos out in the field. Now let’s think of an individual delivery as an apple. Granny Smith, Golden Delicious, Fuji, any type of apple that was on your Grandma’s dining room table.
Here’s where the integration comes in. Let’s say you want to put hundreds (or thousands) of apples into said basket, without having to place each apple one at a time. In the software world, an integration is like connecting a conveyor belt from the apple tree to your basket. Once running, this conveyor belt creates a continuous stream of apples right into their new home. Once your conveyor belt (integration) is in place, you can automatically fill that basket (Onfleet) with apples (deliveries), saving a ton of time and energy.

Now let’s take a look at how to create a simple integration. I know what you’re thinking, “I just read an analogy about apples, baskets and conveyor belts and it actually helped me understand what an integration is! I’m so far from actually coding that for myself.” If you just thought that, give yourself a little credit because you happen to be completely wrong.
Lo and behold an integration tool called Zapier. With this tool, you can integrate two pieces of software that you already use without having to write the actual code to create these connections. Let’s take a look at the 5 steps below that will allow you to integrate Google Sheets with your Onfleet dashboard and automatically create tasks forever and ever.

Integrating Google Sheets with your Onfleet Dashboard
- Create a Google Sheet that looks like this Onfleet Import Sheet (hint hint: just download a copy of the spreadsheet on the other side of that link).
- Go to Zapier (there is a free light version) and click Make a Zap! at the top right of the landing page.
- First we need to set your trigger action to Google Sheets. Search and select Google Sheets from the available applications. Choose New Spreadsheet Row and then connect your Google account to give Zapier access. Find and select your Onfleet Import Sheet that we made in Step 1 as the source of your data.
- Now we will set your action step to create an Onfleet task after a New Spreadsheet Row is created in that Google Sheet. Search for Onfleet and select Create Task as your action. You will need to connect your Onfleet dashboard in this step by providing an API key (super simple, see how this can be done in your dashboard). You will then need to map the fields within Zapier based on the columns in your Google Sheet. Just follow the process step-by-step and it should be clear.
- Turn on your Zap! Your integration is now live! Go ahead and fill out a new row in your Google Sheet and you will see the new tasks automatically created in your Onfleet dashboard. Magic!

Now that you’ve built your first integration, the possibilities are endless. Where a simple integration like this gets really powerful is when you connect that Google Sheet to a point of sale or inventory system. Anytime an order comes in, you can have a new row automatically created within your Sheet. Once that new row is created, a delivery task is automatically created with Onfleet. Once that task is created within Onfleet, a Slack message is sent to your dispatcher letting them know a delivery needs to be dispatched…. etc, etc, etc…
As you can see, integrations are like building blocks. The complexity of automation is only limited to your imagination!

If you have any questions about Onfleet, integrations or anything else delivery related, please feel free to reach out to sales@onfleet.com.
Good luck out there.
