
Overview
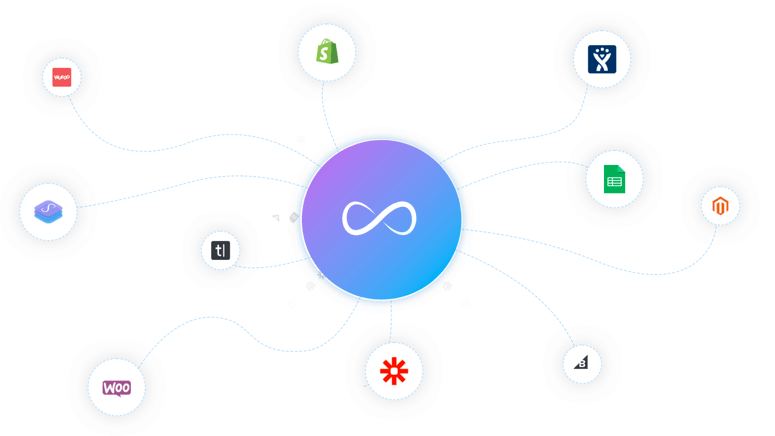
Combining Zapier with Onfleet webhooks can be a powerful way to optimize your delivery operations. In this post we’ll give you a basic overview on how to integrate Onfleet with many of your favorite applications through the use of Zapier.

The two parts of a Zap
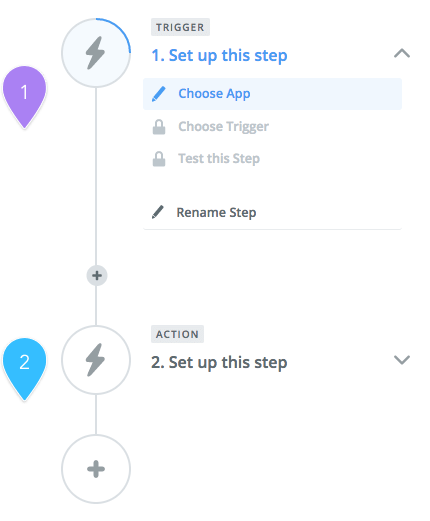
A basic integration created in Zapier is called a Zap and at its simplest form a Zap has two parts: (1) a trigger and (2) an action.
What’s a trigger?
A trigger is an event that kicks off a series of actions. In the context of Onfleet, there are two ways to do this:
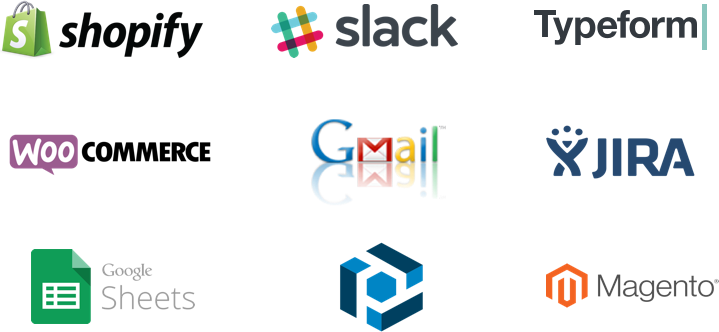
- Using third party apps your team uses every day, trigger the creation of tasks inside Onfleet. Popular third party apps that can be used for these triggers include (but are not limited to):
2. Using Onfleet webhooks, trigger actions in the apps your team uses every day. The webhooks we currently offer are:
Task started, task completed, task failed, task arrival, task created, task updated, task assigned, task unassigned, task ETA, task delayed, worker status change, task deleted
What’s an action?
An action is just that, an action that occurs after the aforementioned trigger occurs. For instance, once a task is failed within your Onfleet dashboard, an action can be created to automatically send a Slack message to alert your dispatchers and kickstart the mediation process.
See an example of this below:
Putting it all together
With Onfleet, Zapier and all of the very useful third party applications out there, the integration possibilities are virtually endless! Take a look at this video to see how to create a basic two part Zap:
Also be sure to check out the following articles within the Onfleet Support Center to guide you through the Zapier learning process:
Onfleet integration templates on Zapier
Integrating with Onfleet support article
Connecting to Shopify support article
If would like to learn more, please reach out to sales@onfleet.com